Microsoft Power Automate Tutorial
Access Power Automate and Create a Flow
-
You can access Power Automate from your list of Office 365 apps. Log in to your Office 365 account and choose Power Automate from the apps listed. If it does not appear, select "Explore all your apps" and look for the following icon.

-
For a new flow, click "Create" on the left side of the screen. You can choose to create a new flow from blank, from a template, or a connector. You can also click "My flows" on the left side of the page to see flows you have already created.
-
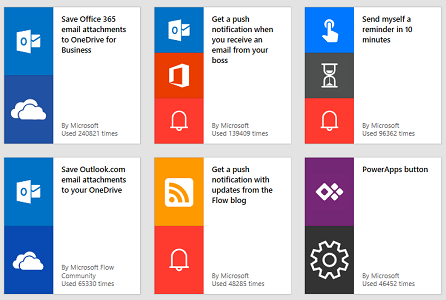
If you choose "create from template", you can enter keywords such as an event (i.e. create or send) or an app name (i.e. OneDrive for Business) in the search box. Click the spyglass (
 ) or press enter. From the returned results, see if any of the templates fit your
needs.
) or press enter. From the returned results, see if any of the templates fit your
needs. -
You can also peruse the sample templates that are shown at the bottom of the page.
-
Follow the instructions as they appear on screen. The basic structure of a flow is "trigger and then action". Conditions can also be added. If an app requests credentials, enter your LSUHSC ID and password.
-
Once your flow is created you will be able to see it listed on the "My Flows" page. Selecting the flow from this page would allow you to edit the flow and view its run history.