Microsoft Power Automate Tutorial
Flow Creation from Blank
Access Power Automate via the Office 365 Portal. If you do not see it, look for the Power Automate icon.
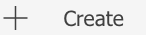
Click "Create" on the left side of the page. "Start from blank" should be at the top
of the page. and
Choose what kind of blank option you want - Automated Flow, Instant Flow, Scheduled
Flow, UI Flow, or Business Process Flow. You will be asked for a name for the flow
and a trigger to start the flow. Click "Create".
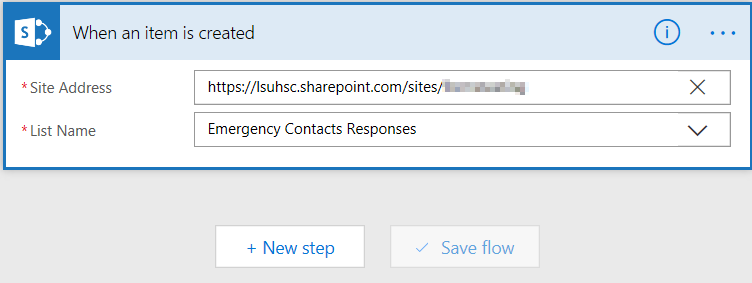
Choose or enter the information that is asked for and click "new step." For this example,
the trigger is "When a SharePoint item is created."
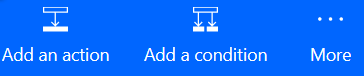
Choose "Add an action" or "Add a condition". For this example, an action will be added
with no condition.
If you choose "Add a condition," you can leave one of the possibilities blank if you
don't want anything to happen if that condition is met. For example, if an action
has a condition of "no", do not add an action if you don't want anything to happen
in that instance.
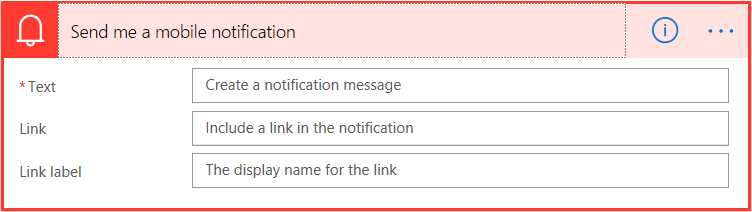
Click "Add an action", choose a connector, and then choose an action. For this example,
the Notifications connector is chosen and the "Send me a mobile notification" action
is selected. which will send a push notification to your Flow mobile app (if you downloaded
the app on your mobile device).
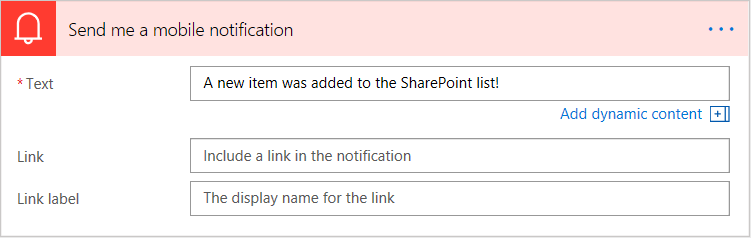
Enter any information that is requested. For this example, enter the text of the tweet
that you want to be sent.
Decide if you need to add any other actions. If yes, follow 6-8 steps again.
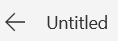
When you are done, if you didn't choose a name or want to change the name of the flow,
click "untitled" at the top left of the screen and enter a name for the flow. Click
"Save flow."
Example Name Entered
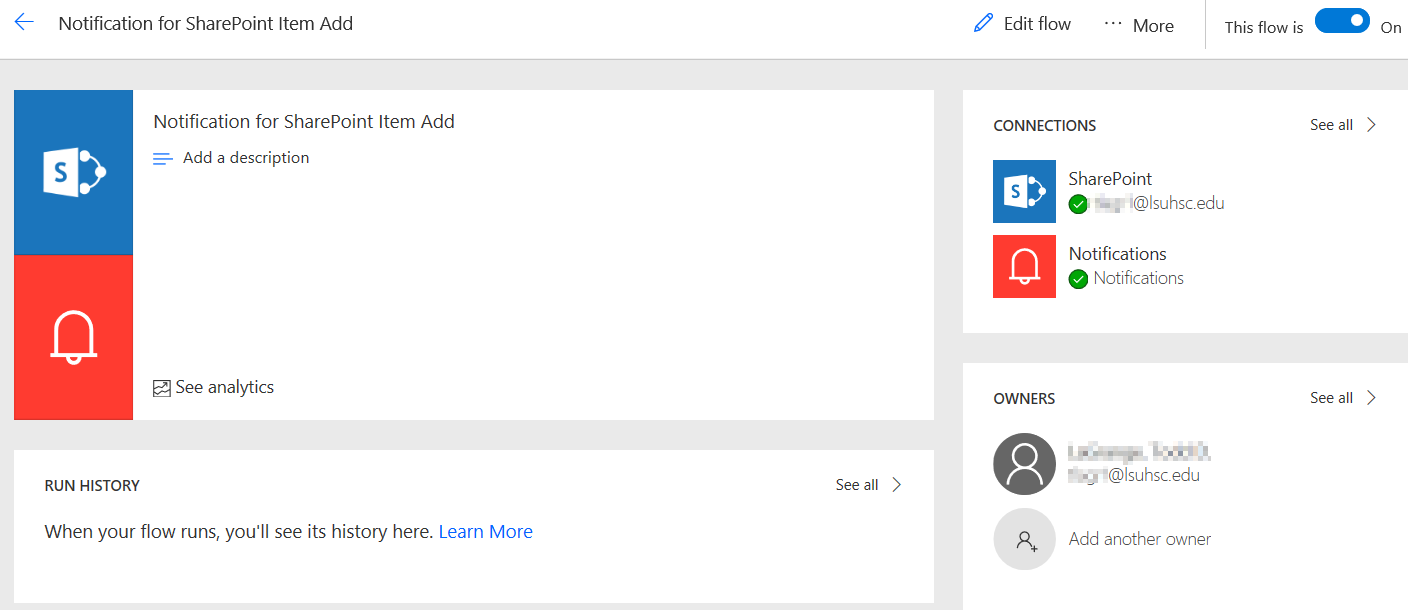
After saving you can run a test or click the arrow () to go to the flow details page. On the details page, you can view the run history,
check the connections, and turn the flow off and on. You can also add/delete owners
of the flow.
Make sure that the flow is switched to "On" in the top right-hand corner of this page.
When the flow is on the switch will show .

 and
and 


 ) to go to the flow details page. On the details page, you can view the run history,
check the connections, and turn the flow off and on. You can also add/delete owners
of the flow.
) to go to the flow details page. On the details page, you can view the run history,
check the connections, and turn the flow off and on. You can also add/delete owners
of the flow.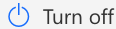 .
.