Editing Interface
The Page Actions toolbar contains options for editing your page:

Preview: View how the page will look on your website.
Edit: Start editing the content of the page.
Source: Edit the source code of the page.
Properties: Edit title, tags, access, layout options, navigation etc.
Main Content Section
The "Main Content" section should contain content for pages that use the side menu navigation type. (all migrated pages use the side menu navigation type by default). The main content section may also be useful on pages that use the banner navigation type with content that must be full width.
To edit Main Content:
1. Select the green editable Main Content button.
![]()
2. Add any desired content. The content could be a combination of texts, snippets, tables, images, etc.
3. Click on Save at the top right of the page.
4. Publish to make the change to the production webpage.
Additional Content Section
The "Additional Content" section should contain the page content on pages that use banner navigation.
The "Additional Content" section can also be used to on pages that use side menu navigation to add full width content under the side menu.
To edit Additional Content:
1. Select the green editable Additional Content button.
![]()
2. Add any desired content. The content could be a combination of texts, snippets, tables, images, etc.
3. Click on Save at the top right of the page.
4. Publish to make the change to the production webpage.
Toolbar
Toolbar is located at the top of the CMS editor after you choose to edit content.
![]()
Some of the features that toolbar offers are described below:
| Tool | Icon | Description |
| Find and Replace | Search for text in the editable region then replace with other text. | |
| Spellcheck |
Check the spelling within the editable region. |
|
| Insert/Edit Links | Create or edit a link from the selected content to other content. | |
| Anchor | Create or edit a page marker that can link to other content. | |
| Snippets | Add preexisting snippets of formatted content to the page. | |
| Assets | Add preconfigured assets of formatted content to the page. | |
| Components | Add preconfigured components of form-based content to the page. | |
| Tables | Insert and modify a table. | |
| Insert Image | Insert or edit an image. | |
| Source code | View and edit the HTML code in the editable region. | |
| Insert/Edit MailTo Link | Create a link from the selected content that prompts an email client to open a new email. | |
| Buttons | 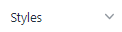 |
Click on the styles tab for a dropdown menu with a list of all available buttons. |
Save and Publish
- When you edit a web page in the CMS the system will "check out" the web page so that no one other than you can edit it.
- After you finish editing the web page content use the "Save" button
 to save your changes to the CMS without publishing them to the production web server.
- This is a change from the previous CMS which only allowed you to save by publishing changes to the server.
- Saving a page will not "check-in" the web page to allow others to edit. To "check-in"
use the lightbulb icon
 or use the Publish button to check the page back in.
- The "Publish" button
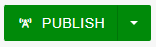 will save and publish any content changes to the production web server.
- When you select “Publish,” the Accessibility check in the Final Check section will run automatically and prevent publishing if any issues are found.
- A successful check will display “No Issues Found” and allow the page to be published.
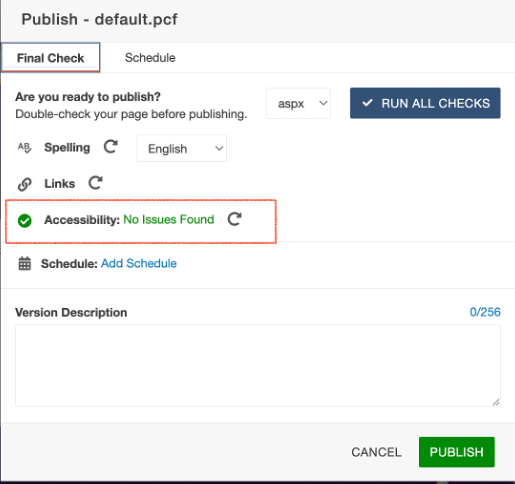
- If the accessibility check fails, you can select the issue (view issue example) to see additional details and guidance on how to resolve it. (view details example)
- If you need assistance, please contact the Web team.
- When you select “Publish,” the web page file will be checked in, allowing other users to edit the file.
- If another user checks out file, you will see a lock icon as the file status. That means the page is not accessible to any other user. If you would need to unlock any such file, create a ticket with this link.
- The video below goes over the process of checking in and out a file: